-40%
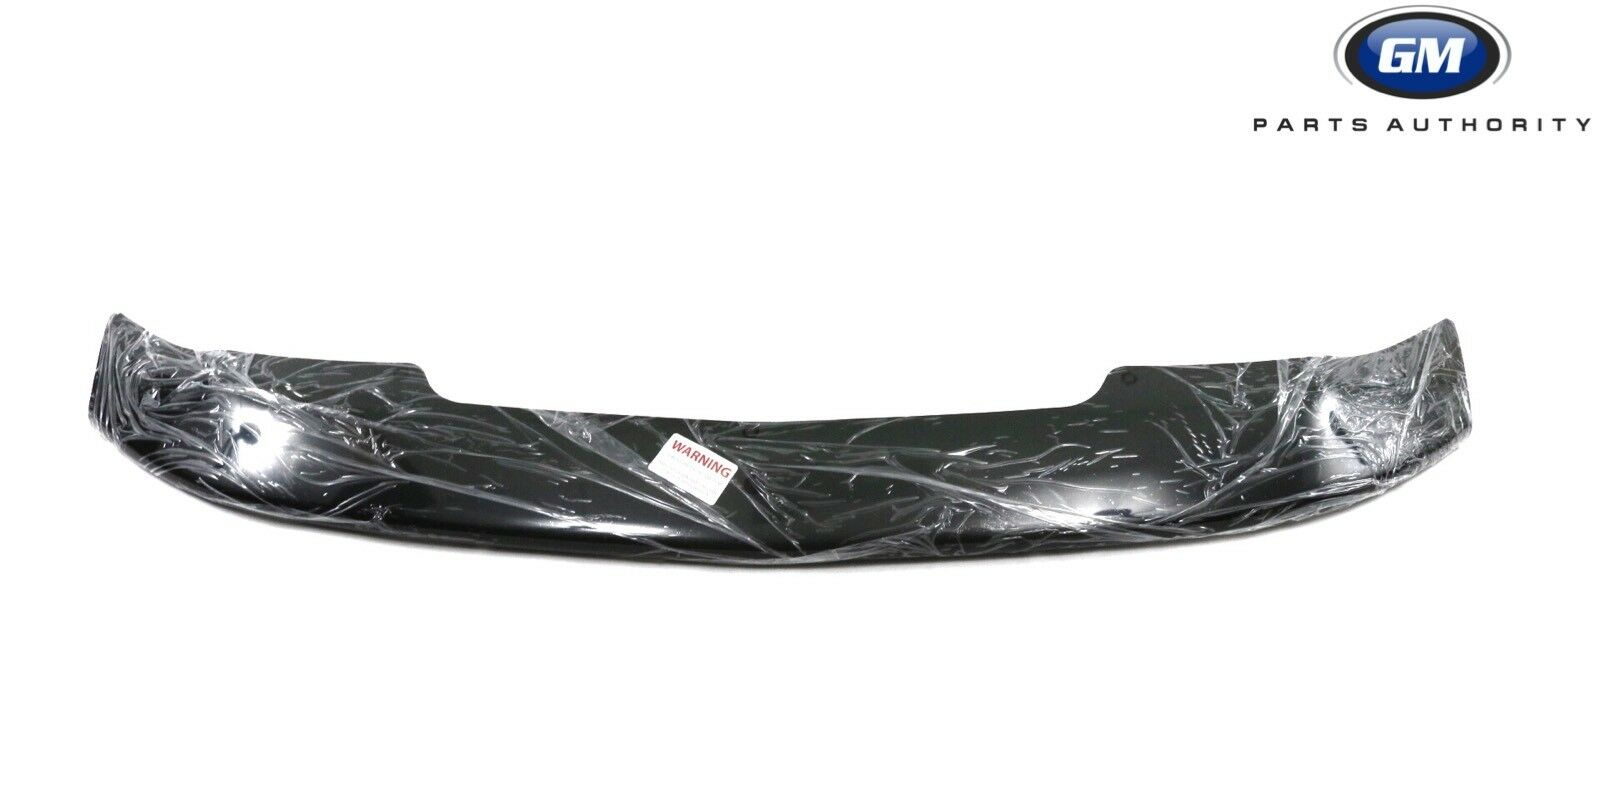
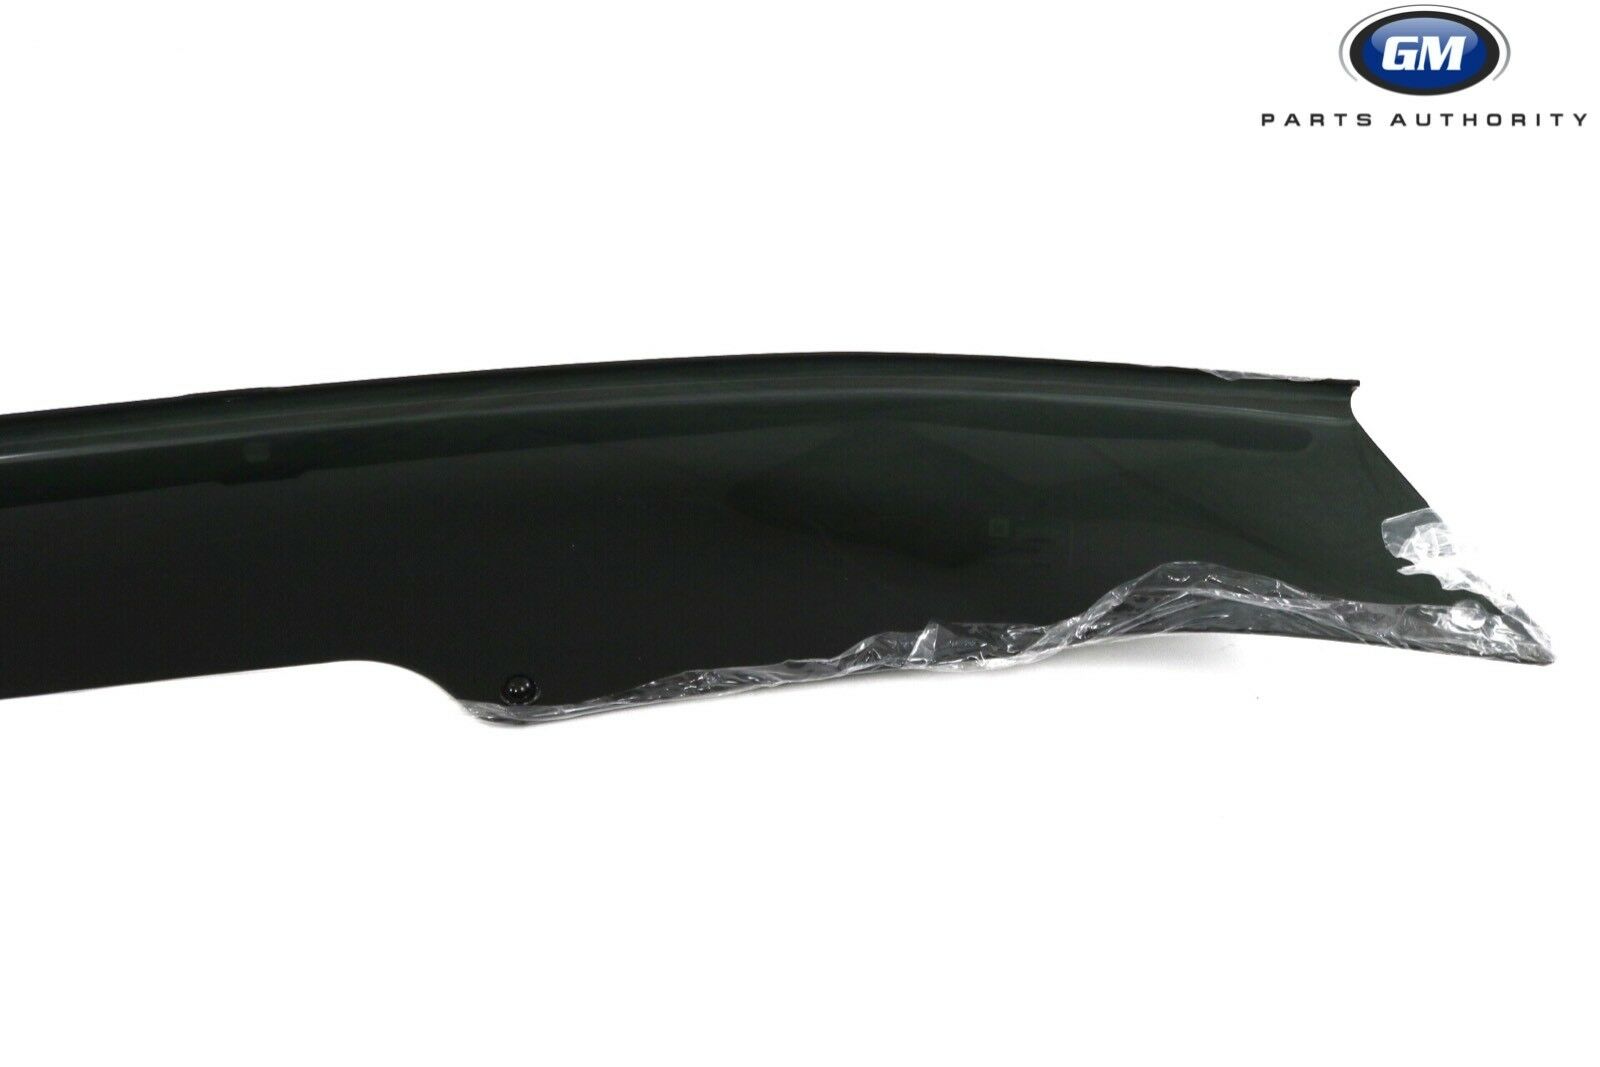
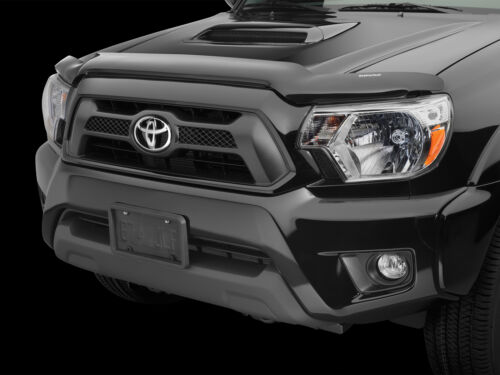
2015-2019 Chevrolet Colorado Molded Hood Protector 23246405 Smoke Genuine OEM GM
$ 65.98
- Description
- Size Guide
Description
New in the box Molded Hood Protector.OEM GM part number 23246405.
Color is Smoke.
Thanks for looking and email with any questions!
Need help installing? Look below
Hood Air Deflector Package Installation (Instruction P/N 23177944)
Installation Instructions Part Number
23246405
Kit Contents
Qty
Description
1
Hood Deflector
4
Metal Clips
4
Washer
4
Foam Washer
4
Self Tapping Screw
4
Small Screw
5
Small Abrasive Resistant Tape (18x18mm)
4
Large Abrasive Resistant Tape (30x50mm)
2
Red Square Adhesive Tape
2
Mylar Tape
4
Alcohol Prep Pad
1
Thread Lock
1
Rust Inhibitor
2
Large Washer
1
Installation Instructions
Tools Required
Clean Soft Cloth
Drill
6mm Drill Bit
Center Punch
Torque Screw Driver
#2 Phillips Head Bit
Caution:
Do not use abrasive, spirit or solvent-based cleaners.
Procedure
Read instructions thoroughly before commencing fitment. Wash and dry the vehicle. Open the hood and thoroughly clean underneath the forward edge of the hood.
In the noted areas remove the hidden scrivets (1) from the rubber trim. Dispose the scrivets.
Trial fit the Hood Deflector (5) centrally onto the hood (1). Note the two inner holes (6) in the Hood Deflector and where they correspond with the lip of the hood and the rubber trim (7) on the underside of the hood. Note the two outer holes (4) in the Hood Deflector and where they correspond with the lip (2) of the hood. Also note the five bumpons (3). Remove Hood Deflector.
Clean the four noted areas (1) with the alcohol prep pad provided. Wipe off any residue with a dry clean cloth. Adhere the large abrasive resistant tape strips (2) over the hood lip (3). Apply tape so approximately half of each strip is adhered to the topside and half is adhered to the underside of hood.
Attach the four foam washers (4) to the face of the four metal clips (2). Apply two small drops of thread lock (3) to the back inside edge of the thread (1) in the clip.
Important:
Ensure thread lock does not come into contact with the Hood Deflector. Wipe away with clean cloth if contact does occur.
Pull back the rubber trim and position two metal clips (3) onto the Hood over the vacated holes. Fit screw plugs (2) through the clips into the holes in hood. Ensure the square boss on screw plugs sit in the rectangle hole in clip. Secure with self tapping screws (1) provided, using the torque screw driver (1.2-1.5 Nm).
Important:
Ensure the clips rest over the abrasive resistant tape and do not come in contact with the hood paint work. Also ensure the small screws fasten against the plastic spacer. Failure to do this may result in permanent paint damage.
Remove the protective film from the Hood Deflector. Secure the remaining two metal clips (1) to the Hood Deflector (4) at the outer hole positions, using the small screws (3) and washers (2) provided, using the torque screw driver (1.2-1.5 Nm).
Fit the Hood Deflector to the hood. Ensure the two outer metal clips (1) are positioned over the abrasive resistant tape (5). Loosely secure the Hood Deflector (2) to the two inner metal clips using the small screws (4) and washers (5). Check Hood Deflector is located centrally over the hood, then fully tighten the small screws.
Important:
Ensure the clips rest over the abrasive resistant tape and do not come in contact with hood paint work. Also Ensure the small screws fasten against the plastic spacer. Failure to do this may result in permanent paint damage.
At the outer metal clip position mark the center of the rectangle hole (1) in the metal clip (2) onto the hood.
Mark with masking tape the position of the five bumpons on the hood as a reference to install the small abrasive resistant tape strips.
Remove the Hood deflector. Use a center punch on the marked outer metal clip hole centers (1). Drill a 6mm hole at the marked locations (1).
Important:
Wrap masking tape around the drill bit approximately 10mm/0.3937in from the tip. Use a low speed on the drill to prevent damage being done to the hood.
Remove any burrs from the drilled holes (2). Apply the supplied rust inhibitor (1) to the drilled holes.
Clean the five marked areas with alcohol prep pad provided. Wipe off any residue with a dry clean cloth. Adhere the small abrasive resistant tape strips (1) to the top of the hood, where the bumpons (2) are going to be located.
Re-fit the Hood Deflector to the hood. Ensure the two outer metal clips (1) are positioned over the abrasive resistant tape (5). Loosely secure the Hood Deflector (2) to the two inner metal clips using the small screws (4) and washers (3). Check Hood Deflector is located centrally over the hood, then fully tighten the small screws.
Important:
Ensure the clips rest over the abrasive resistant tape and do not come in contact with hood paint work. Also Ensure the small screws fasten against the plastic spacer. Failure to do this may result in permanent paint damage.
Fit screw plugs (3) through the outer metal clips (4) into the holes in hood. Ensure the square boss on screw plugs sit in the rectangle hole in clip. Secure with self tapping screws (1) and large washers (2) provided, using the torque screw driver (1.2-1.5 Nm).
At the two noted areas (1) clean the hood and the underside of the rubber trim with the alcohol prep pad provided. Wipe off any residue with a dry clean cloth. Peel off one side of the backing liner from the adhesive tapes, then adhere the adhesive tapes (2) to the underside of the rubber trim. Peel off the remaining backing liner (3) from the adhesive tapes, then reposition the rubber trim and press down onto hood. Rub down over the rubber trim while applying firm pressure.
Important:
Do not touch the exposed tape surface.
Open the hood. Clean the top surface of both headlights with the alcohol prep pad provided. Wipe off any residue with a dry clean cloth. Adhere the mylar tape strips (2) to the top surface of the headlight (1) following the headlight expression line.


